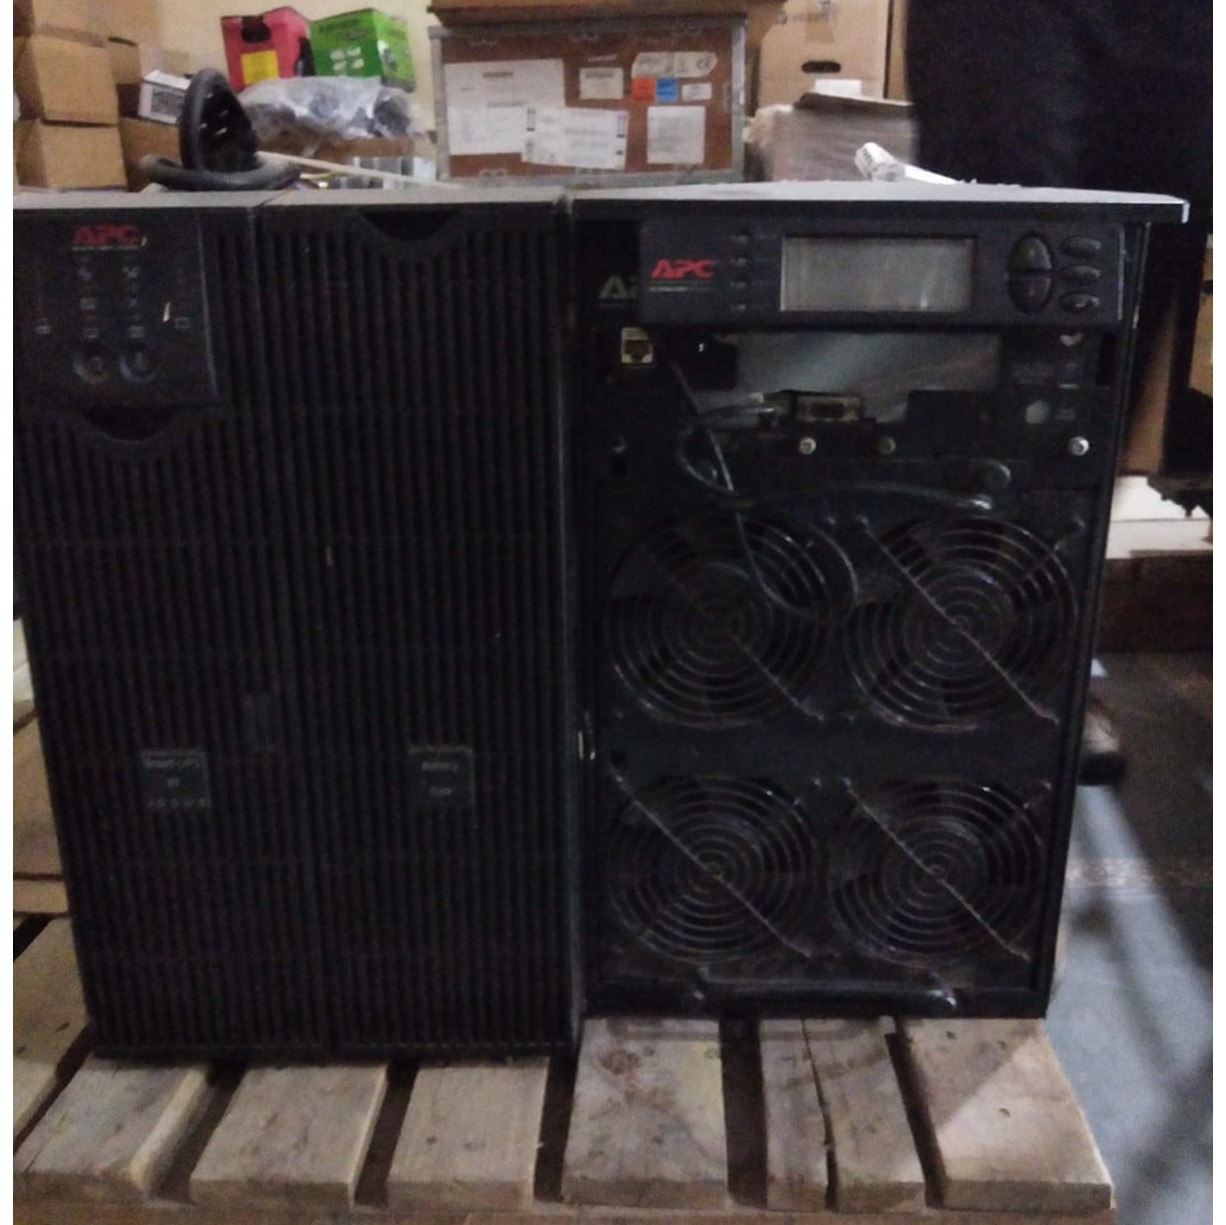
Apc Ups Repairing
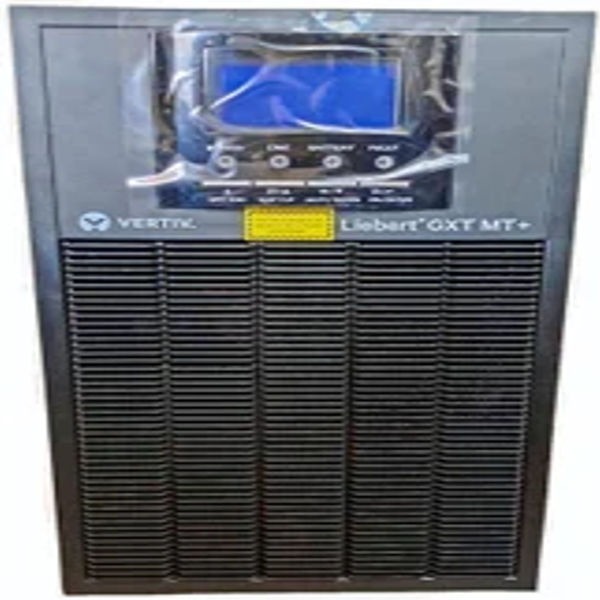
Repairing an APC UPS (Uninterruptible Power Supply) involves troubleshooting and addressing common issues that can arise over time. Here’s a comprehensive guide to help you diagnose and repair your APC UPS:
Safety Precautions
Disconnect Power: Always unplug the UPS before performing any repairs or inspections.
Use PPE: Wear safety goggles and gloves to protect against electric shock.
Work in a Ventilated Area: Ensure good airflow to prevent overheating.
Common Issues and Solutions
1. UPS Won\'t Turn On
Check Power Source:
Ensure the UPS is plugged in and the outlet is functional.
Test the power cord for damage.
Battery Issues:
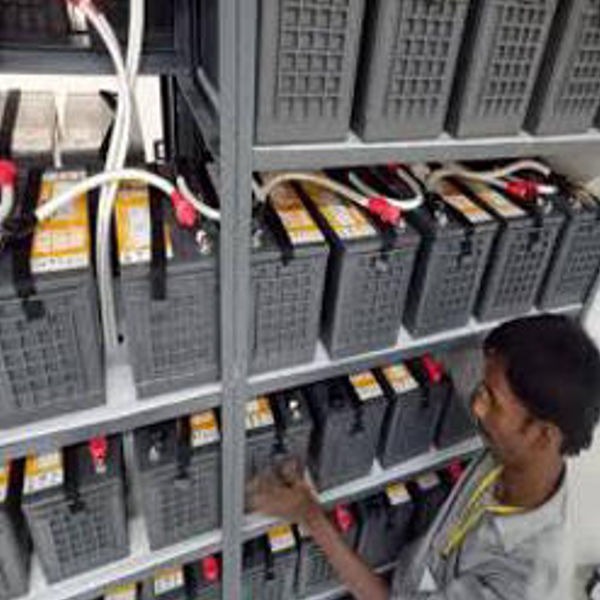
Inspect the battery for swelling, leaks, or corrosion.
Use a multimeter to check battery voltage; if it\'s significantly low, it may need replacement.
2. Battery Replacement
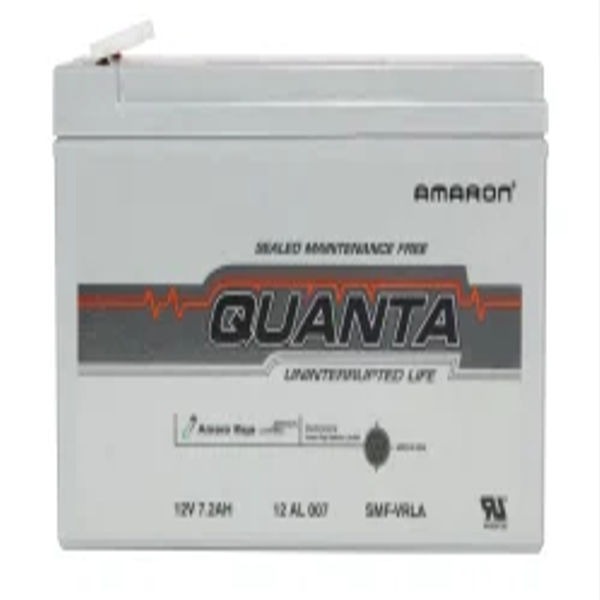
Identify Battery Type: Refer to the user manual for the specific battery model.
Remove the Old Battery:
Open the UPS case (usually requires a screwdriver).
Disconnect the old battery, noting the connections.
Install the New Battery:
Connect the new battery securely.
Close the UPS case and ensure all screws are tightened.
3. Overheating
Check Ventilation:
Ensure that the UPS is in a well-ventilated area.
Clear any obstructions around vents.
Inspect Fans:
Check if the internal fans are operational. Clean any dust accumulation.
4. Frequent Alarms or Beeping
Load Issues:
Ensure that the connected load does not exceed the UPS capacity.
Disconnect non-essential devices and see if the alarm stops.
Battery Health:
Run a self-test (if your model supports it) to check battery status.
5. Self-Test Failure
Check Battery Voltage: Use a multimeter to check the voltage of the battery. Replace if below the recommended level.
Internal Issues: If the self-test consistently fails, the internal circuitry might need inspection by a professional.
Tools and Equipment Needed
Multimeter (for voltage checks)
Screwdriver set
Replacement batteries (as needed)
Cleaning cloth or compressed air (for dust removal)
Safety equipment (gloves, goggles)
General Repair Steps
Visual Inspection:
Check for any visible signs of damage, such as burnt components or damaged connectors.
Inspect for loose wires and connections.
Testing Components:
Batteries: Measure the voltage and ensure it\'s within specifications.
Fuses: Check fuses for continuity. Replace blown fuses as needed.
Fans and Circuits: Ensure fans are operational and listen for unusual noises.
Reassembly:
After repairs, carefully reassemble the UPS.
Ensure all screws and connections are secure before powering on.
Testing the UPS:
Once reassembled, plug in the UPS and perform a test by connecting a load.
Monitor the UPS for any abnormal behavior.
Conclusion
Repairing an APC UPS can often be straightforward, particularly when it comes to replacing batteries or troubleshooting common issues. However, if the problem persists or if you are unsure about the repair process, it’s advisable to contact a professional technician or the manufacturer for support. Always refer to the specific user manual for detailed instructions related to your UPS model.
Keywords
Apc Ups
UPS case
UPS model
power cord
blown fuses
Load Issues
New Battery
Old Battery
loose wires
Inspect Fans
UPS capacity
Battery Type
dust removal
good airflow
internal fans
visible signs
common issues
safety goggles
voltage checks
connected load
battery status
Battery Health
Battery Issues
unusual noises
compressed air
Cleaning cloth
electric shock
repair process
Screwdriver set
battery voltage
Internal Issues
Frequent Alarms
Ventilated Area
Safety equipment
burnt components
Disconnect Power
Self-Test Failure
Visual Inspection
abnormal behavior
dust accumulation
Check Ventilation
Testing Components
internal circuitry
Safety Precautions
Check Power Source
Battery Replacement
comprehensive guide
specific user manual
General Repair Steps
Replacement batteries
detailed instructions
non-essential devices
specific battery model
professional technician
Uninterruptible Power Supply
