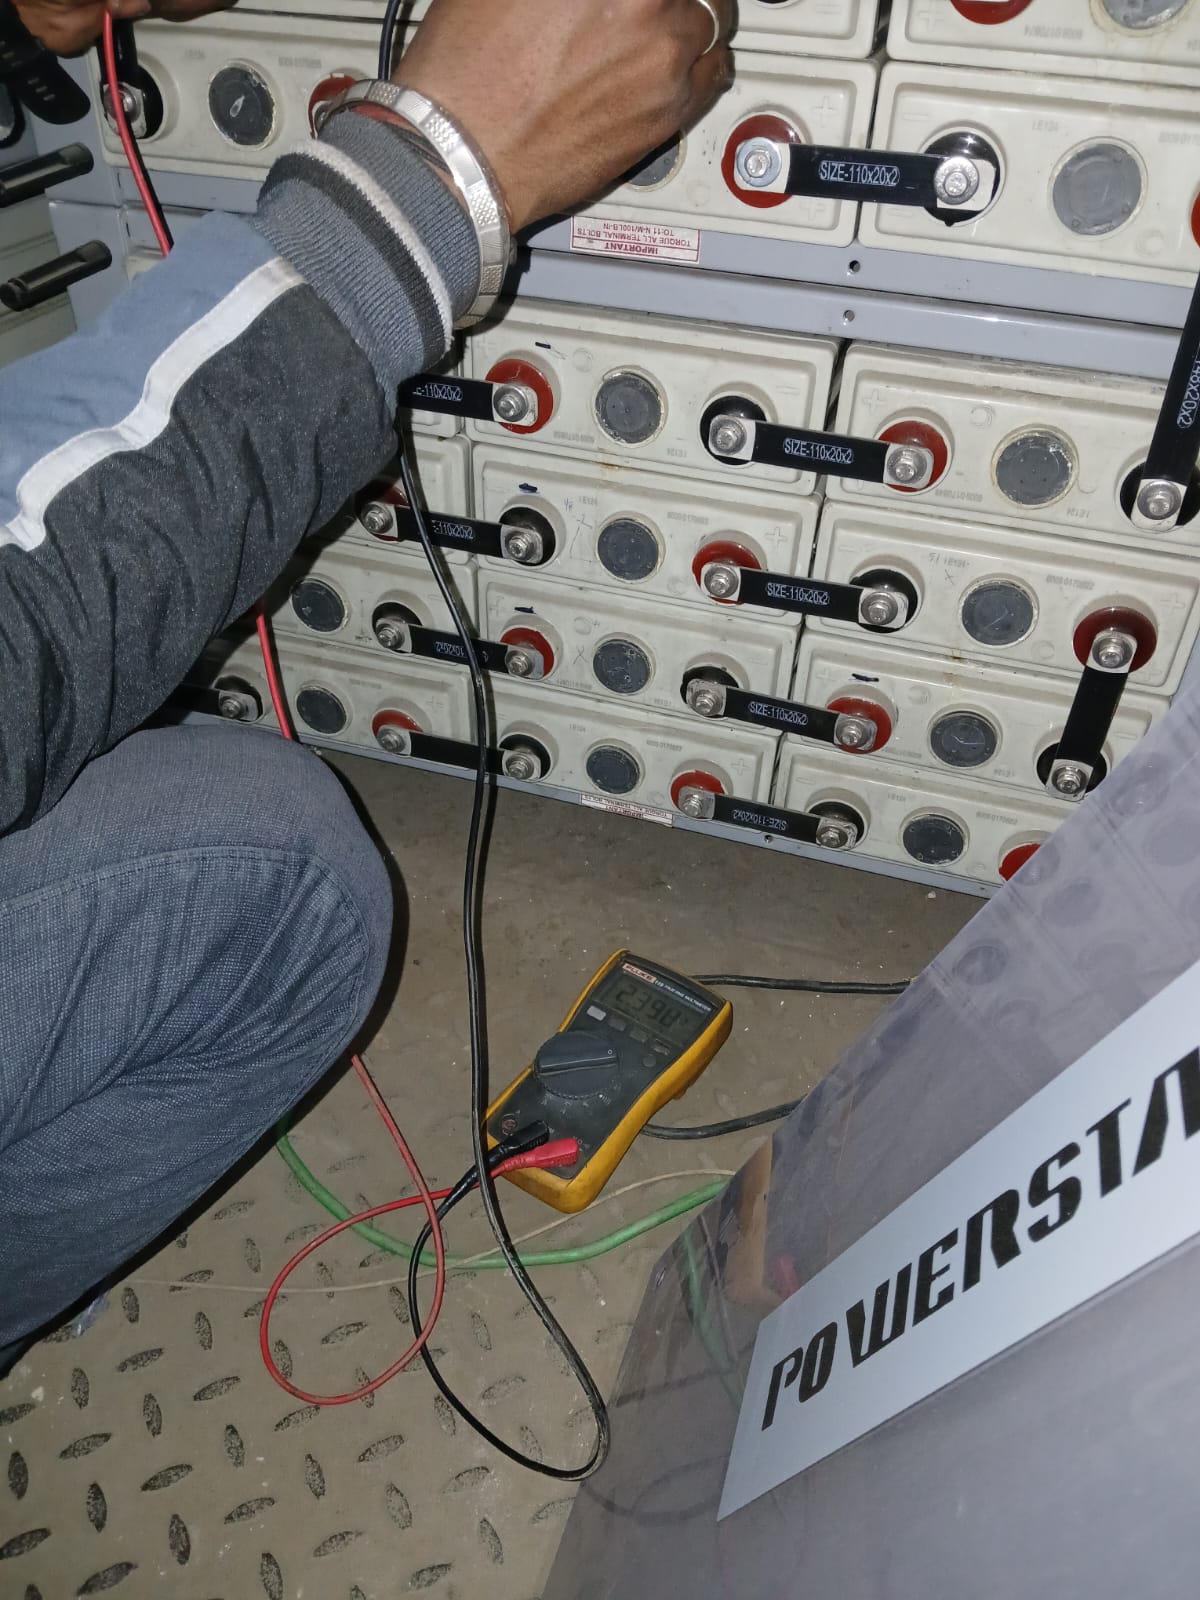
Powerstack batteries, typically used in UPS systems, inverters, and other energy storage applications, require proper testing and maintenance to ensure their efficiency, longevity, and reliability. If you need to perform battery testing on a Powerstack battery, here's a general guide for testing and monitoring its condition: Steps to Test Powerstack Batteries: 1. Visual Inspection Check for Physical Damage: Inspect the battery casing for any cracks, leaks, or bulges. Damaged batteries should be replaced. Clean the Terminals: Ensure the terminals are clean and free from corrosion. If there is any corrosion, clean the terminals with a mixture of baking soda and water. 2. Check Battery Voltage Measure the Open-Circuit Voltage (OCV): Use a digital voltmeter to measure the voltage across the battery terminals when it is not connected to any load. Compare the measured voltage to the battery’s rated voltage. A typical fully charged 12V lead-acid battery should read around 12.6 to 12.8 volts. For a 24V battery, you should see a voltage of around 25.2 to 26.0 volts. Undercharged Battery: If the voltage is significantly lower (e.g., 10.5V or less for a 12V battery), it may indicate that the battery is undercharged or faulty. 3. Load Testing Test under Load: Apply a load to the battery, simulating its normal working conditions. The load can be an inverter or UPS system that draws power from the battery. Monitor the voltage drop under load. The voltage should not drop drastically; otherwise, it may indicate that the battery is aging or weak. DC Discharge Test: If you have access to a battery analyzer or tester, you can perform a discharge test by applying a constant load and measuring the time it takes for the battery to reach a certain voltage cutoff. 4. Battery Charge Test Charge the Battery Fully: Use the manufacturer’s recommended charger to fully charge the battery. Most Powerstack systems will charge to full capacity in 6-12 hours, depending on the charger and battery size. Monitor Charging Parameters: If the battery doesn’t charge properly or takes longer than usual, it might indicate problems with the battery or the charger. End of Charge Voltage: For lead-acid batteries, the end-of-charge voltage should be around 14.4 to 15.0 volts for a 12V battery and 28.8 to 30.0 volts for a 24V battery. 5. Conduct a Specific Gravity Test (for Lead-Acid Batteries) Hydrometer Test: If your Powerstack battery is a lead-acid type, you can measure the specific gravity of the electrolyte inside the battery using a hydrometer. A fully charged battery will have a specific gravity of around 1.265 – 1.280. If the reading is low, it may indicate that one or more cells are faulty. 6. Perform a Battery Health Check (Advanced) Use a Battery Tester: There are advanced battery testers that can measure the internal resistance, capacity, and health of the battery. These testers usually simulate various load conditions and measure how well the battery performs. Internal Resistance: A higher internal resistance indicates aging and reduced capacity. A proper battery tester will show you this resistance reading, which helps in assessing the battery's remaining life. 7. Monitor for Temperature Batteries can heat up during charging and discharging. Check for unusual temperature rises that may indicate internal problems. Excessive heat can degrade battery life and may signal an issue with the battery or the charging system. Signs of a Failing Battery: Rapid Voltage Drop: If the voltage quickly drops under load, the battery is likely deteriorating. Short Runtime: If the battery runs out of charge much faster than expected, it could mean it's near the end of its life. Inconsistent Voltage Readings: Large fluctuations in voltage readings, especially when under load, can indicate a failing battery. Physical Damage: Swelling, leaks, or any visible damage to the battery indicates that it needs to be replaced. Battery Maintenance Tips: Regular Charging: Avoid deep discharges and always keep the battery charged. Environmental Conditions: Keep the battery in a cool, dry place to avoid overheating or damage due to extreme temperatures. Periodic Tests: Test the battery every 3-6 months to assess its health and ensure it’s functioning properly. Use the Right Charger: Always use the manufacturer's recommended charger to prevent overcharging or undercharging. Conclusion: Battery testing is critical for ensuring that your Powerstack battery continues to perform optimally. Regular testing helps in identifying potential problems early and maintaining the battery’s health. Always follow the manufacturer’s instructions and consult with a professional if you're unsure about the testing process.
Send Message
